Getting started with pledge manager and late pledge (for external campaigns)
Thank you for choosing Indiegogo as the pledge manager for your project. If this is your first project on Indiegogo, please continue reading.
Not sure about the total costs? Here's an article about fees.
To start a project, you need to first set up a Creator account - you can do it here.
Getting Started with the Pledge Manager and Late Pledge
To start a project, go to your admin panel, click Creator->My projects at the top and then click "+Add a project" in the upper right:

Next, choose "External campaign":

You will be asked about your campaign's original URL address, the funding and backer numbers of the project, as well as the campaign's original currency. You will also have to choose your legal entity type.
Once you have filled out all the information, you can create the project and proceed to the project's dashboard.
Choosing between the late pledge and pledge manager

Late pledge - When you collect pledges after funding your campaign without defining shipping costs and collecting shipping details from the backers, this stage is optional. You can proceed directly to the pledge manager.
Pledge manager - When backers can make the final choice on their products, provide shipping details, and pay any outstanding fees (such as shipping fees or the amount for any extra products they added). This stage also allows for collecting late pledges.
Setting up the project
Once you have decided whether you want to open a late pledge or pledge manager, you can start setting up the project page. Our project dashboard will tell you what you need to do:

Review & Launch
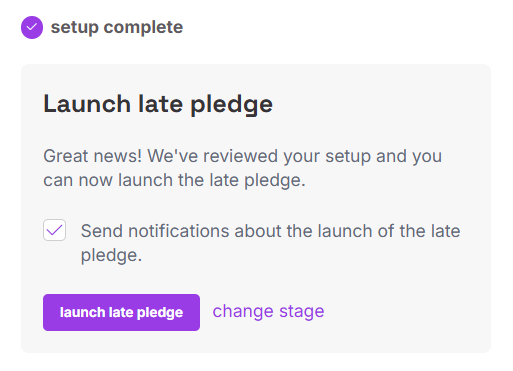
When you're finished, we need to verify your project. Remember to click "submit for review" when you're ready. Once your project gets reviewed and accepted, you can publish it yourself by clicking "Launch pledge manager" or "Launch late pledge":